
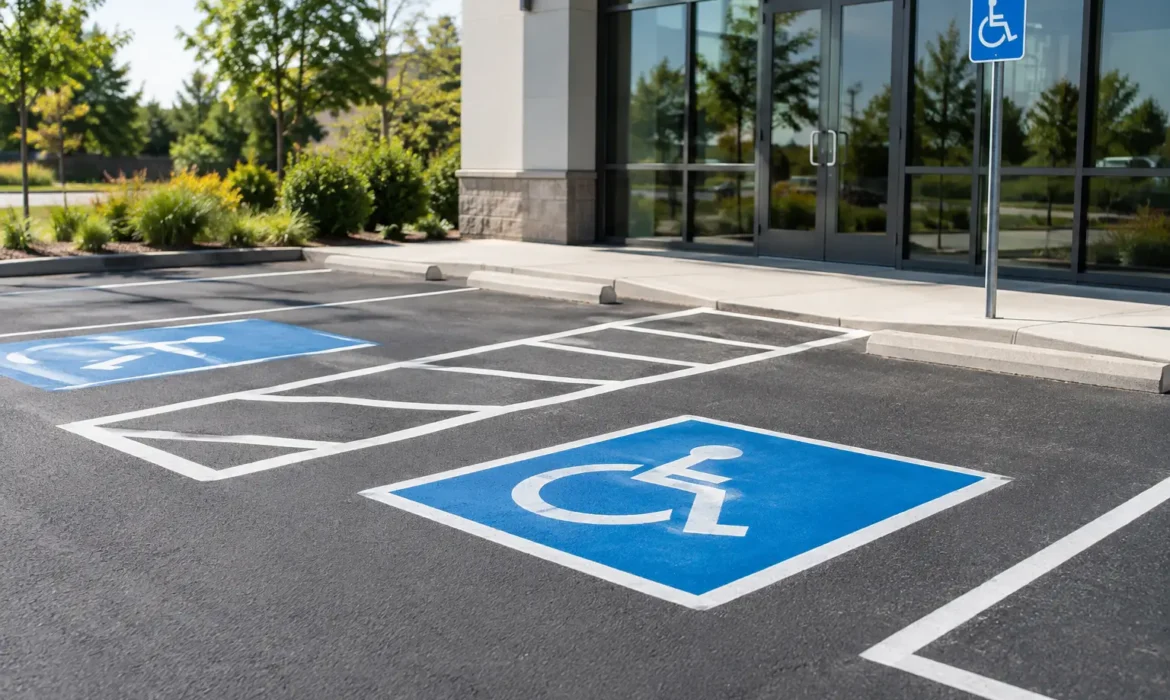
A faded accessible parking symbol, a blocked access aisle, or a space that slopes toward a storefront can create a real barrier before someone even reaches the entrance. ADA parking lot striping requirements are not just about applying paint in the right color. They shape how people park, exit their vehicles, move safely through the lot, and reach the building on a stable path.
For commercial property owners and facility managers, the best approach is to look at the parking lot as one connected system. Space counts, dimensions, signage, slopes, accessible routes, curbs, and pavement condition all need to work together. Fresh striping can improve the appearance of a property, but it should also support dependable, usable access every day.
Why Accessible Striping Deserves More Than a Repaint
Parking lot markings wear down gradually. Snow removal, traffic, standing water, sunlight, and pavement movement can leave lines difficult to see long before the lot feels overdue for maintenance. When that happens around accessible spaces, drivers may park too close to an aisle, use a striped area as extra parking, or struggle to identify the correct route to the entrance.
A professional striping project begins with layout, not paint. The contractor should review how vehicles enter and circulate, where pedestrians travel, whether curb ramps align with access aisles, and whether the parking surface drains properly. On a busy retail, office, medical, or multifamily property, these details affect both safety and traffic flow.
The visible stripe is only the final step. Durable results depend on sound pavement, accurate measurements, clear surface preparation, and a layout that makes sense for the site.
ADA Parking Lot Striping Requirements: The Core Layout
The number of accessible parking spaces is tied to the total number of spaces in the lot. Smaller lots need at least one accessible space, while larger lots require more. One of every six accessible spaces must be designed for van use, and fractions are rounded up when determining the needed quantity.
The following planning guide covers common parking-lot ranges:
| Total Parking Spaces | Minimum Accessible Spaces | | — | — | | 1 to 25 | 1 | | 26 to 50 | 2 | | 51 to 75 | 3 | | 76 to 100 | 4 | | 101 to 150 | 5 | | 151 to 200 | 6 | | 201 to 300 | 7 | | 301 to 400 | 8 | | 401 to 500 | 9 |
For lots with 501 to 1,000 spaces, accessible spaces generally equal 2 percent of the total. For lots above 1,000 spaces, the calculation changes to 20 accessible spaces plus one additional space for every 100 spaces over 1,000.
These figures are a starting point, not a substitute for evaluating the entire property. A site with several buildings, separate parking areas, multiple entrances, or a newly expanded lot may need a more detailed assessment. The accessible spaces should serve the entrances they are intended to support, rather than being placed simply wherever an open row is available.
Space Width and Access Aisles
A standard accessible parking space must be at least 96 inches wide. It needs an adjacent access aisle at least 60 inches wide. The aisle provides room for a person to enter or exit a vehicle and should remain completely clear of parked cars, shopping carts, dumpsters, bollards, landscaping, or stored materials.
Van-accessible spaces can be configured in either of two ways: a 132-inch-wide parking space with a 60-inch access aisle, or a 96-inch-wide parking space with a 96-inch access aisle. This added width supports ramp and lift use.
Access aisles may serve two adjacent accessible spaces when the layout is designed correctly. That can use parking area efficiently, but only when both spaces, the shared aisle, and the path to the building remain clear and properly marked.
Location Matters as Much as Dimensions
Accessible spaces should be located on the shortest practical accessible route to the entrance. A space directly in front of the building is not useful if a curb, steep grade, uneven pavement, or missing ramp interrupts that route.
The route should have a stable, slip-resistant surface and should connect the access aisle to the entrance without forcing pedestrians into moving traffic. In some lots, this calls for a new curb ramp, a corrected walkway, or relocated striping. A repaint alone cannot solve a route that is poorly positioned.
Accessible parking spaces and access aisles also need a level surface. A maximum slope of 1:48 in any direction helps prevent wheelchairs, walkers, and vehicle doors from drifting or becoming difficult to control. Drainage still matters, especially in Maryland where freeze-thaw cycles and heavy rain can expose low spots quickly. The goal is controlled drainage without pitching the accessible area too sharply.
Signs and Pavement Markings Work Together
Each accessible space needs a sign identifying it as reserved for accessible use. Van-accessible spaces require an additional van designation. Signs should be mounted where they remain visible above parked vehicles, with the bottom of the sign at least 60 inches above the ground.
Pavement symbols reinforce the sign and make the space recognizable from the driving lane. Blue is commonly used for accessible markings, but paint color by itself does not create a functional accessible space. The width of the stall, the protected aisle, the sign placement, the slope, and the route to the building all matter.
The access aisle should be clearly striped to discourage parking. Diagonal hatch marks are common because they make the no-parking area easy to identify. The hatching should be consistent, sharply defined, and laid out so it does not create confusion with pedestrian crosswalks or traffic-direction arrows.
For properties with older pavement, cracking and patchwork repairs can make symbols and hatching look uneven. It may be more practical to complete needed asphalt repairs or sealcoating before restriping. This creates a cleaner finished appearance and helps the markings last longer.
Common Problems Found During Parking Lot Reviews
Many striping issues develop over time as a property changes. A storefront entrance may move, a curb ramp may be added, parking rows may be restriped after resurfacing, or a delivery area may slowly take over part of an access aisle. These are some of the most common conditions worth correcting:
- Accessible spaces that are too narrow or lack a full-width access aisle
- Van spaces without enough aisle width or vertical clearance along the approach route
- Access aisles used for cart corrals, trash containers, equipment, or temporary storage
- Spaces located near an entrance but disconnected by curbs, steps, steep slopes, or vehicle lanes
- Worn symbols, broken striping, and missing or poorly positioned signs
- Standing water, settlement, or pavement damage within the space or access aisle
A practical evaluation looks beyond whether a symbol is visible. It considers whether a visitor can park, deploy mobility equipment, travel to the entrance, and return to the vehicle without encountering an unnecessary obstacle.
A Better Process for Restripe and Resurfacing Projects
Before work begins, confirm the total parking count and identify the entrances each parking area serves. From there, measure the accessible spaces, access aisles, slopes, and walking route. This is also the time to identify drainage concerns, damaged curbs, failing asphalt, and areas where traffic patterns no longer fit the way the property operates.
If the pavement is in generally good condition, a carefully planned restriping project may be enough. If it has alligator cracking, depressions, widespread fading, or loose surface material, repairs and sealcoating may provide a better foundation for new markings. Fresh paint on failing pavement can look good briefly, but it will not deliver the durability property owners expect.
Scheduling also matters. Commercial lots often need work completed in phases so customers, employees, deliveries, and emergency access can continue without unnecessary disruption. Clear communication about closures, cure time, and reopening sequences keeps the project organized from start to finish.
Keep the Markings Visible and the Route Clear
Accessible striping should be included in routine property maintenance, not treated as a one-time improvement. Walk the lot after winter, after heavy rain, and before a busy season. Look for paint wear, blocked aisles, loose wheel stops, damaged signs, puddling, and pavement movement around ramps and walkways.
A well-maintained parking lot sends a simple message: visitors are expected, their safety matters, and the property is professionally cared for. When striping, pavement condition, and pedestrian access are handled together, the result is a more functional entrance experience that continues to serve the property long after the paint has dried.